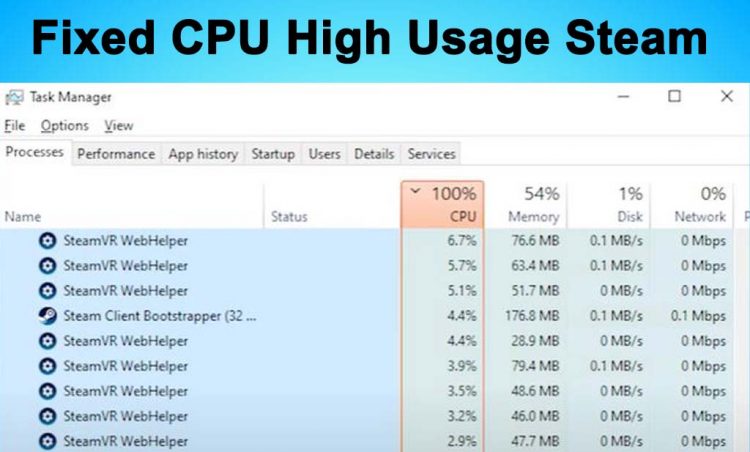
Steam is one of the most widely used digital gaming platforms around the world. Most gamers depend on Steam to purchase PC games in digital format or play them online. Moreover, there are no bugs or missing files when you download a game from Steam. But in the last few months, there have constant reports of lags and freezes in gameplay when launched through Steam. It turned out that the file named “Steam Client WebHelper.exe” was using a lot of resources and showing high CPU usage in Windows Task Manager.
So a lot of reports have been made on the Steam Community page about stuttering and lagging during gameplay. So in this guide, we’ll look into some of the most working fixes to overcome Steam Client WebHelper High CPU Usage issue.
But before applying some possible solutions, let’s first discuss:
What is Steam Client WebHelper?
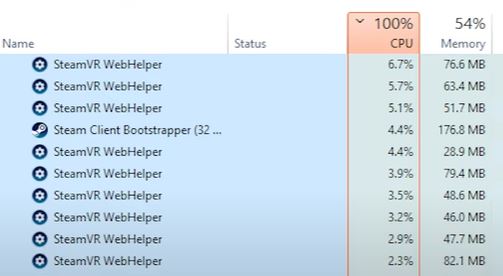
Steamwebhelper.exe is a built-in web browser by Steam used for launching the Steam Store, Steam Community, and Game Library. So, the time you launch the Steam, it results in multiple Steam Client WebHelper processes in the Windows Task Bar. Each one of them uses a portion of your CPU, as a result, the overall CPU usage increases and you’ll end up having lags and stutters while playing games.
How to Fix Steam Client WebHelper High CPU Usage Issue
Now as you know a little about this file, here’s how you can get rid of this issue:
1: Launching Steam Without Steam WebHelper (-no-browser parameter)
So we have to launch the Steam without the file that’s causing the higher CPU usage. In order to do this, you have to close the Steam if it’s already opened.
Go to the location where you have installed the Steam on your hard drive. If you are using the 64-bit version of Windows 10, then you’ll find it at C:\Program Files (x86)\Steam\steam.exe as shown in the image below:
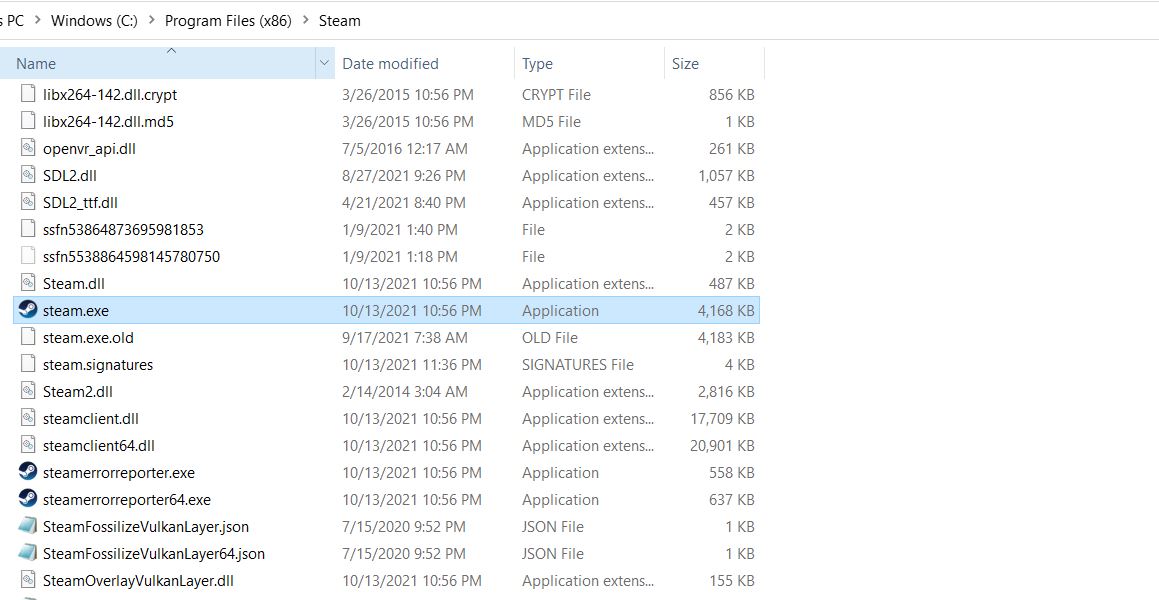
You’ll have to use this location along with a command in order to launch Steam without the Steam Client WebHelper file.
Press Win + R to launch the Run Prompt and then enter the following code.
"C:\Program Files (x86)\Steam\steam.exe" -no-browser +open steam://open/minigameslistPaste the command as it is assuming that you have the same location where you’ve installed the Steam software.

This command will prompt the Steam to launch in small mode and without any built-in browser. So, using -no-browser parameter mode, you can still access your game library and download games from Steam.
2: Disabling Steam Overlay while in-game
This method has worked for a lot of users who have been facing higher CPU usage issues in Steam.
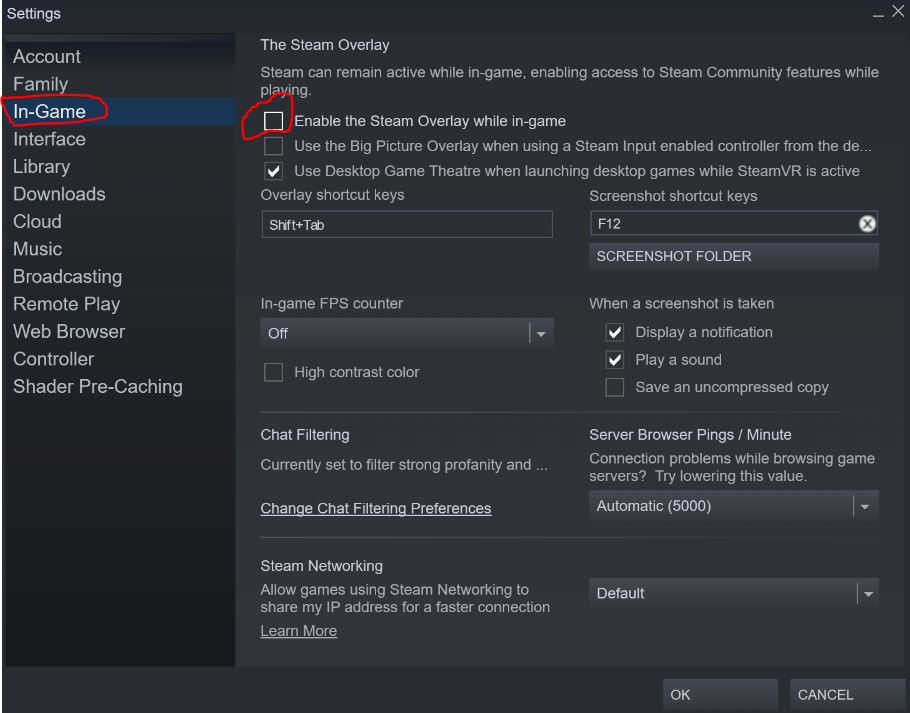
To disable the “Steam Overlay while in-game” setting, you’ll need to click on View > Settings
Once you are there, click on the “In-Game” settings at the left side panel, and then uncheck the “Steam overlay while in-game” option at the top. See the image below for reference
3- Disable GPU Accelerated Rendering
If the above method doesn’t work out, then there’s another way around this. Go to the “Settings” and then click on the “Interface” on the left side panel.
Now uncheck all the three options with:
- Smooth scrolling in web views
- GPU accelerated rendering in web views
- hardware video decoding
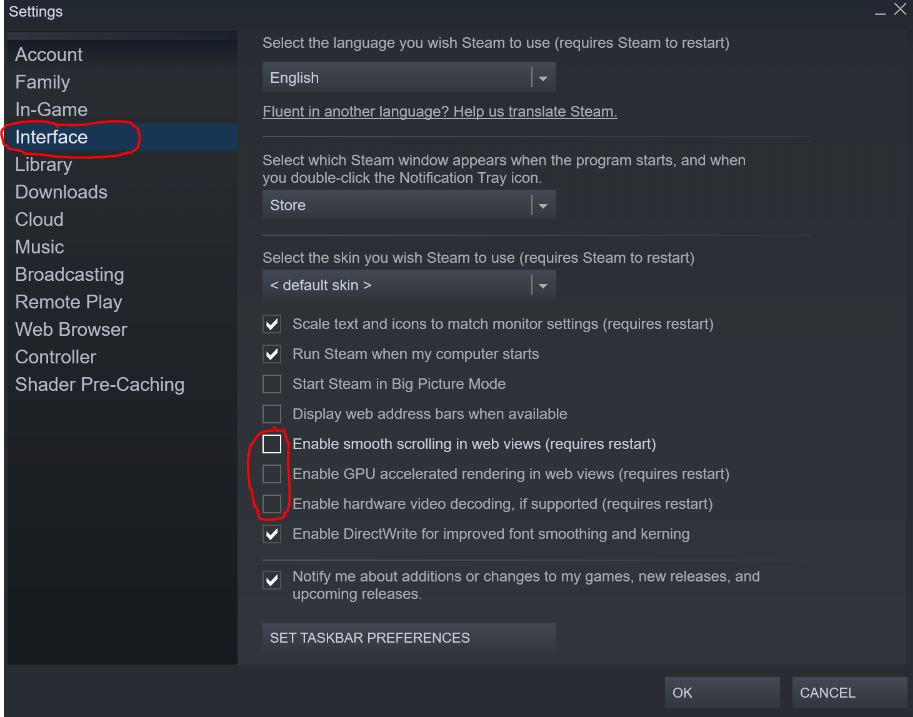
Now click on “OK” at the bottom to save the settings, restart your PC, and then relaunch the Steam.
4: Disabling Animated Avatar
Although disabling the “Animated Avatar” might not look like a useful solution to reduce the load on your CPU in Steam, in some cases it has helped out to solve the problem.
To disable the animated avatar, launch the Steam program and navigate to the “Friends” tab on the main menu.
Once there, click on “View Friends List” and you’ll see a new tab like the one below:

Once you see this tab, click on the “gear” icon in the top right corner and it will open a new window like the one below. Here just turn off the “Enable Animated Avatars & Animated Avatar Frames in your Friends List and Chat” option at the bottom and click on “OK” to save the settings.
5: Upgrading your CPU
When none of the above methods works, then the last option is to upgrade your CPU. However, only go for this method if you have a weak processor that needs to be upgraded. Steam requires at least a 2.3 GHz Intel Core 2 Duo or equivalent AMD CPU to run properly.
Make sure you meet the recommended system requirements of the Steam to prevent any extra load on your CPU. A weaker may CPU may go under a lot of stress when dealing with the latest applications, so there are higher chances that you may end up with lags and stuttering during games on Steam.
Conclusion
Finally, these were some of the most effective solutions to get rid of the Steam Client WebHelper high CPU usage issue. Go through these methods one by one and hopefully this would solve the problem. Most probably the first three methods would definitely troubleshoot the issue and you’ll be able to game without any lags or stutters on Steam.