With the amount of content available on the Amazon Kindle devices, it can be annoying when you lose all the progress in the media you’re consuming, such as bookmarks. So how do you transfer data from an old Kindle Fire to a new Kindle Fire HD?
Most of the data transfer can be dealt with by properly syncing your data to your Amazon account but you can also manually make a backup and transfer it to get all the remaining data.
Let’s go through the preparation and management of the tablet data to do an easy migration, as well as consider some tips and tricks to make sure the process goes through as smoothly as possible.
Steps for Data Transfer From Old Kindle Fire to New One
The Amazon Kindle Fire is designed to work with Amazon’s content management systems as well as Netflix, Facebook, Hulu, Instagram, TikTok, and more through Amazon’s Appstore.
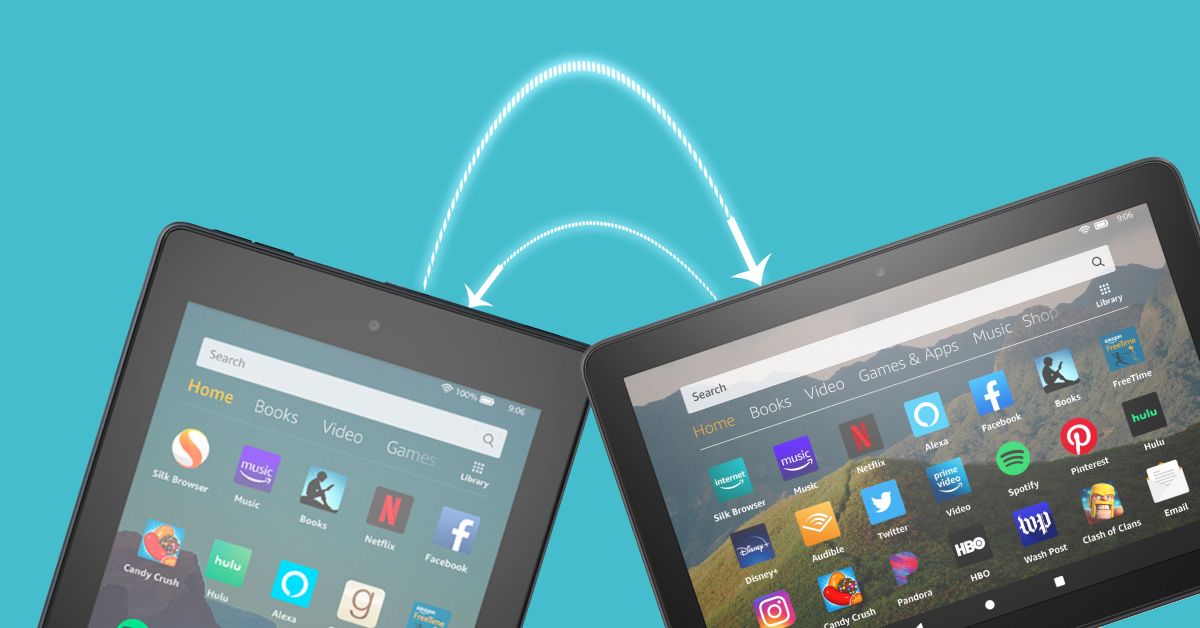
However, with the continuing improvements to the device, it can be tempting to upgrade your current Kindle Fire to the latest Fire HD 10 and Fire HD Plus but hesitate to do so because you’re worried about all your data not transferring over.
So follow these steps below and you’ll be easily able to convert it all over as best as is possible, although you may find some apps lose some of their progress but nothing major.
This is unavoidable as some software is tied to a specific device, so moving to a new Kindle Fire will always remove this data. Keep in mind that when you delete something from your Kindle Fire, the bookmarks or progress data will also be removed.
This is not the case for Kindle books and Audible audiobooks, which you can sync to Amazon’s Cloud system to save your progress.
This will already be happening on your device if you’re logged in, but you can check it by swiping down from the Home screen to open the Quick Actions or select Menu and select the Sync icon or the Sync and Check for Items option.
The steps may differ slightly as the name of the directories change depending on what Kindle Fire you have, but in the end your goal is to move the ‘content’ folders off the old Kindle Fire and back them up, then copying that content to your new Fire.
Keep in mind that you can use multiple Kindles on the same Amazon account, so if you mainly want to sync your Amazon content such as ebooks, then it’s not strictly necessary to go through this whole migration process.
However, the Kindle Fire is a multimedia tablet and so the reason most people want to go through this process is to make sure other content apart from ebooks is also synced over, so read on for the steps to do so.
Initial Preparation
You may have a lot of unused apps and data on the Kindle Fire that you don’t want to copy to your new Kindle Fire. So first do a bit of spring cleaning and remove or uninstall all the apps that you no longer use.
This will make the migration process go a lot smoother and quicker, as well as keeping your new Kindle Fire spick and span. This can be particularly useful for books you’ve already read or other media, as this can quickly add up to a lot of transfer time.
Apps that you use, and have save data that you want to keep, make sure you don’t remove these as the associated save data will be gone if you remove the app.
You can remove an app by long holding on it to bring up a menu that will prompt you to delete it.
Also go through the various content menus such as Books, Videos, Apps, Games, etc and tap the ‘Device’ filter to limit your view to content that’s been downloaded.
Sync Content
You’ll want to make sure that everything is synced from your existing Fire to Amazon’s cloud services. You can manually do this by first checking that your WiFi or cell connection is turned on and connected to a network.
This will cause at least all of Amazon’s apps to be pushed to sync to the Cloud, and you should be able to see this occuring in the notification panel. After this, swipe on the carousel screen to open the Settings menu and tap the Sync icon.
Finally, if you have any Audible content, such as audiobook bookmarks, for earlier generations of Kindle Fires it will only reliably sync if you also hit Sync from within the Audible menu.
You can also do this by launching your computer’s internet browser and opening the ‘Manage Your Kindle’ page on your Amazon account.
Ensure the ‘Whispersync Device Synchronization’ in the Manage Your Devices section is set to ‘On’, in most cases it should already be turned on by default.
You can also do a Fire Tablet back up by swiping down from the top of the screen and tap Settings.
Tap Device Options, and then tap Backup & Restore. Tap the switch to turn Device Backup on
Connect Your Existing Fire to Your Computer via USB
After using the appropriate USB cable to connect to your Kindle, open up File Explorer, Finder, or whatever your computer uses for browsing files and viewing directories.
You’ll want to open up the drive or directory named Kindle or Kindle Fire and then copy the following listed folders to a backup folder. Get the folders named Alarms, Android, Audible, Books, Documents, Download, Movies, Music, and Pictures.
The other folders contain system files and so you won’t need to copy these over as your new Kindle will already have better versions of these.
Now, if you’re sure that a folder won’t be needed, for example Alarms contains custom alarm settings, then you don’t need to copy that over.
Once this is all done copying, safely eject or remove the Kindle and now we can start the transfer process. This is simply done by left clicking on the USB icon down the bottom right of the screen, in the notification area.
If you’re on a OSX-based device, select the Kindle you want to remove and click on it once. Drag the Kindle to the Trash, which will then become an Eject icon as you drag it.
YOu can then safely remove the USB cord from the device. This will also ensure that all the data has transferred successfully, as you will get a warning otherwise.
Setup Your New Kindle Fire
Fully Charge your new Kindle and then switch it on, following the prompts to get it all connected and logged in to your Amazon account.
Check the app store and agree to download any apps you want, and let the Kindle Fire set itself up as much as possible.
Go to each Apps, Games page by tapping the menu for it and then click on the Cloud link to view all the apps stored on the cloud. For the desired apps, select ‘Download’ from the pop-up menu.
Do the same on each content page on your new Kindle Fire, such as Books, Audiobooks, Video and so on.
Manually Transfer Old Data
Connect the new Fire to your computer and repeat the same process to open up the Kindle directories in your file explorer or finder.
Access the backup folder you created earlier and put the two side-by side on a screen. Then systematically for each folder you backed up, restore the backup to your Fire
Copy all the contents from the backup window to the new Fire content window per folder, such as Books, Movies and so on.
However, don’t copy the Amazon folder (that will be found in Android/Data) from your backup. Just copy the subfolders / files individually from within the Android directory of your backup, including files named ‘apk’, as these are app data backups.
Also be wary of the com.amazon.kindle, com.amazon.kindle.UnifiedSearch, com.amazon.photos, and com. amazon.venezia folders, these are best not copied over as well.
If you get a pop-up warning you about overwriting, you can click Yes in most cases except if you notice the word ‘token’, you can skip these.
After this is all done, eject the new Kindle from the computer. Go through some music, movies or similar that already have some progress ie you’ve watched them partly, and see if the progress has synced.
If not, you’ll need to restart the process again and carefully copy folders over from the backup again. If you only notice that some progress has been lost, then it may not be worth the time to go through it all over again.
Hopefully that clears up how to do this process, and if you’ve got a beginner to intermediate level of technical prowess, this should be relatively straightforward but it is easy to miscopy a file, so just make sure you go through them one by one.
