Kindles have been around for quite some time now, and the many different models available have seen some great improvements on previous designs. You are maybe thinking of getting the one for yourself and wondering how long do Kindles?
Newer Kindles and recent models will likely last somewhere around five to eight years for most people, with that number getting significantly longer if proper care is taken of them via charging techniques, using a case and keeping it out of the weather.
Let’s look at the best tips and tricks to get the most out of your Kindle so that it lasts for many years and you get the perfect reading conditions throughout the lifespan of the device.
How Long Do Kindle Models Last?
You can expect many years out of a Kindle, with the average lifespan as reported by consumers tending to be over five years.
This is because Kindles do not have a lot of moving parts, especially ones that do not have page turn buttons. The combination of the low need to constantly charge and few moving components is a big reason why they’re so long lasting.
The consensus seems to be that Kindles last for quite a long time, and generally most people admit that their Kindles only died due to excessive abuse or they lost them. In cases where a Kindle is dead on arrival, Amazon offers a 12-month warranty.
One common way a Kindle will break is due to it being pocket sized, and people will put it in their back pocket only to sit on it repeatedly, eventually break it.
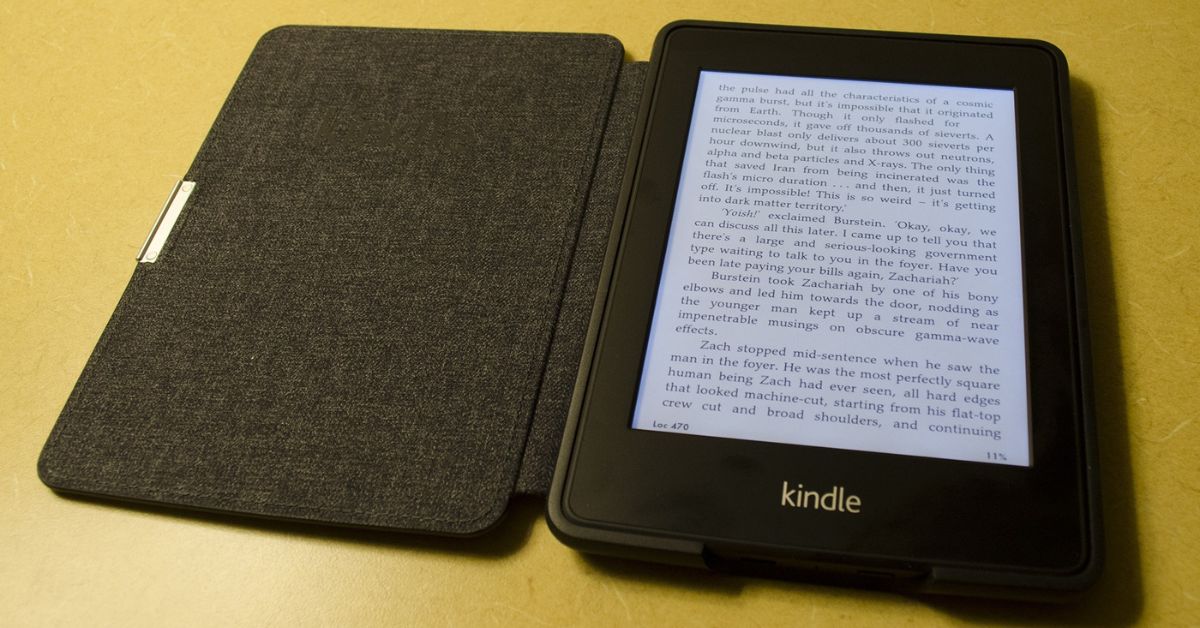
Some older Kindle models had glass screens, but newer models have plastic screens, so they tend to be a lot more durable, even taking drops from fairly high distances without taking any serious damage.
The Kindles generally don’t draw a lot of power, especially the eInk versions which form the majority of the current Kindle lineup. This means you don’t have to charge them very commonly, and this helps extend the lifespan of the Kindle.
| Kindle Model | Expected Lifespan |
|---|---|
| Kindle Basic | 5 to 8 years |
| Kindle Paperwhite and Signature Paperwhite | 5 to 8 years |
| Kindle Oasis | 5 to 8 years |
| Kindle Fire | 5 to 8 years |
| Kindle Voyage | 5 to 8 years |
| Kindle Touch | 5 to 8 years |
How to Make Sure Your Kindle Lasts Longer?
No matter what Kindle you get, there are some tips that will help your device last longer so that you get the most out of it.
Get a Case
Kindles don’t come with a case, but it is one of the best things you can do for the long term longevity of your Kindle.
There are so many options you can get, but I would recommend you go for one that has a flip cover so that the screen is protected while the cover is closed. This prevents unsightly scratches on the reading surface.
Such cases also have the advantage of automatically sending the Kindle into sleep or low power mode when you shut them, meaning you’ll get more out of the battery.
Be Careful when Charging via microUSB
One common issue is that the Kindle will stop charging properly, especially if you don’t have the USB plugged in at exactly the right angle.
This is because the pins inside the port are bent and no longer make good contact with the plug.
Often, this can be the result of general wear and tear, so if you’re careful when plugging it in and not yanking the plug out, that will go a long way to keeping it nice and tidy inside the port.
This tends to be an issue on the older versions of the Kindle as they use the older specification of microUSB, whereas the newer Kindles (with the exception of the Kindle Oasis!) come with USB-C, which is a much more robust connector.
Be Aware of Waterproofing
Recent models of the Kindle are certified to be IPX8 waterproof, meaning it can take immersion in water under certain situations.
For example, the Kindle Oasis is IPX8 rated to protect against immersion in up to two meters of freshwater for up to 60 minutes and 0.25 meters for 3 minutes in seawater.
For freshwater immersion, wipe it off with a soft cloth and keep on reading and make sure the charging port is clear of water.
In the case of seawater immersion, you should do everything you can to remove all traces of salt and other minerals. Lightly wash with freshwater out of a tap and then leave out to completely dry before attempting to charge again.
This means you can read by the pool or in the bath, but just like seawater, you’ll want to remove all traces of detergent and bubbles from the Kindle before using it again.
It’s best to let it dry in the upright position in a well-ventilated room. This allows any water to drip out of the USB port naturally and also prevents damage from heat or cold. It’s best to not use artificial heating or drying methods.
Charging Techniques
To get the most out of the battery for a Kindle, you shouldn’t always let it get to full charge and also shouldn’t let it drain to 0%.
Consensus seems to be that you should endeavor to keep the battery charged between 15% and 85%. That is not to say that you’ll instantly damage the battery if you don’t follow this, but testing has shown this is the optimal way to get the most out of lithium ion batteries.
To charge it up quickly, use a wall adapter rather than charging from a computer USB port.
Look at the specifications of the charger and look for 5 watt chargers, or for the newer USB-C compatible Kindle devices, you can use a 10 watt charger. Almost any quality charger used for smartphones will be fine, and Amazon doesn’t provide a charger.
Extreme Weather Is Bad for Your Kindle
Sunlight is great in moderation, but for electronic devices it can significantly reduce the lifespan. This is especially the case when dealing with plastic, as prolonged exposure to sunlight will cause them to melt and warp, let alone damage the electronics.
Try also to keep the Kindle away from very cold temperatures, as swings in temperature can cause expansion and contraction of the Kindle, causing internal damage.
Keep It Updated
Kindle’s will automatically download software and update themselves, meaning you get the most out of any battery enhancements or configurations.
All this requires is to get the Kindle on the internet, which is done by first swiping down from the top of the screen to show Quick Settings, and then tap Wireless.
Verify that Airplane Mode is Off as Airplane mode will turn off the wireless receiver. Turn on wireless and then tap a network to connect to it. Put in the network password if required, and then tap Connect.
Signs That Your Kindle Is Dying
If your Kindle slows down either in operation or in charging, this is the number one sign it is dying. You may notice that the menus are slower to open, pages turn more slowly, or just it is slow to respond when turning on and off.
It’s worth trying a different USB cable connected to a wall adapter and get it to as full charge as possible. If it still doesn’t work at this point, give it a soft reset by holding down the power button for at least 10 seconds and hit the restart button when prompted.
If that doesn’t work, you can also try resetting the device but first confirm what your Amazon account details are, as these steps may wipe your library. If you log back into the right account, then all your synced content will redownload itself.
Press and hold the power button until either a power dialog box appears or the screen goes blank, and continue holding the power button for approximately 40 seconds, then release.
You’ll know this has been successful when the charge indicator light turns back on and the device reboots.
It is common for users to report small cracks after damaging or dropping a Kindle, but they will still display well in these scenarios. If you start noticing the cracked areas do not display properly, it’s unlikely the Kindle is going to recover from that.
How Do You Know if Your Kindle Battery Needs Replacing?
Slow charging is one of the signs that the battery may need to be replaced. It’s not uncommon for any device to slowly lose its ability to charge as quickly as when it was new.
This isn’t a major issue, but if you notice the charge time doubling or ballooning out and not holding its charge, then you’re likely up for a replacement.
You should expect with moderate usage of about 30 minutes or more reading a day, that you can get a few weeks of reading on a single charge. Once the time between charges starts dropping significantly, it could be a sign of a failing battery.
How to Replace a Kindle Battery?
Battery replacement of many devices requires specialty tools and more than a little bit of dexterity, so you’re better off seeing a professional to do it for you.
Many cell phone repair shops offer tablet and ereader repairs, especially to the very popular Kindle models, so it is worth contacting a few to see what your options are.
Otherwise, look up your Kindle model and find out what size of battery it is, or go off replacement lithium ion battery websites which list the compatible Kindle models.
Keep in mind that opening up your device will void its warranty and may make you ineligible for a replacement, so only do this if you’re content with removing this option from the table.
The general tip is to open the Kindle’s panel to access the battery. The Kindle Paperwhite has a removable screen, the Kindle Fire has a removable back panel. Place the Kindle with the screen facing down, ideally on a clean piece of cloth to protect the screen.
It’s best to get your hands on an electronics pry tool to get these panels separated. Hovico has a 12 piece repair kit that includes a spudger, pry tool and other useful pieces.
Using the pudger or plastic opening tool, gently pry the bezel from the screen by starting in the corners, and then work your way around the bezel or edge. Keep in mind that the screen can be damaged if you push the tool in too far.
Remove the Phillips screws surrounding the midfram with a 3 mm screwdriver.
Find the cable joining the battery to the device and pry the plastic casing loose. Some devices that are internet-enabled may have some black and gold wires that also need to be disconnected.
Batteries are normally secured in place with tape and glue, so a heat gun may help loosen them slightly to remove. The Kindle Fire and some other models use screws in addition to glue or tape, so always look up a specific guide for the device you want to disassemble.
For some models, the battery will have a notch at one end, and it is easy enough to use a finger to push the battery away from the notch and lift it up. It’s not recommended to use any sharp or metal tools due to the delicate electronics behind it.
One of the trickier parts of the replacement is that you have to deal with the internal hooks and catches that are easy to break. The top edge of the panel has little hooks. The bottom has the larger catches that snap into those hooks.
So generally you want to position the top panel’s edge and slide it toward the bottom of the frame to engage the hooks. Some of the internal padding and tape may make it difficult to move into place, but the bottom catches should generally be easy to connect.
